Opulli is an innovative AI fashion model platform designed to revolutionize the way clothing brands showcase their products. By leveraging advanced AI technology, Opulli offers a smart and cost-effective alternative to traditional photoshoots, allowing brands to create captivating product images with AI-generated models. This platform aims to streamline content production, reduce costs, and accelerate market readiness for fashion brands of all sizes.
Opulli | AI Fashion Model Platform for Clothing Brands
Create captivating AI-generated fashion models, cutting photoshoot costs dramatically. Enhance audience engagement, accelerate market debut, and lead fashion trends with unparalleled speed and precision.

Introduction
Feature
AI Fashion Model Generation
- Create high-quality product images using AI-generated models
- Choose from a vast array of AI fashion models with unique styles and features
- Option to use real models in AI for a more realistic experience
User-Friendly Process
Upload and Customize
- Simply upload your product image
- Select the model's look to match your desired style
- Download your elegantly showcased product
Flexible Pricing Options
- Free trial available for instant access
- Subscription plans for increased usage (beyond 20 free AI-generated model conversations per day)
- Cost-effective solution for brands of all sizes
Privacy and Data Protection
- User information is not used for training data
- Commitment to protecting user privacy and data
Resources and Support
- Comprehensive FAQ and glossary
- Guides and resources for fashion brands
- Information on partnerships with fashion brands and creative agencies
FAQ
How does Opulli work?
Opulli allows users to upload product images, select AI-generated models, and create high-quality product showcases. The platform offers a simple three-step process: upload your product image, select the model's look, and download the final image.
What are the benefits of using Opulli?
Opulli offers several benefits:
- Cost-effective alternative to traditional photoshoots
- Streamlined content production process
- Accelerated market readiness
- Access to a wide variety of AI-generated models
- High-quality product images without the need for expensive equipment or studio space
Is there a limit to how many images I can generate?
Opulli offers 20 free AI-generated model conversations per day. For users requiring more, subscription plans are available to meet higher volume needs.
Can I use Opulli for different types of clothing and accessories?
Yes, Opulli is designed to showcase various fashion products, including different types of clothing and accessories. The platform's diverse range of AI-generated models can be used to display a wide array of fashion items.
How can I get started with Opulli?
To get started with Opulli:
- Visit the Opulli website
- Click on the "TRY NOW" button for instant access
- Explore the platform's features with the free trial
- Upload your product images and start creating AI-generated showcases
Latest Traffic Insights
Monthly Visits
0
Bounce Rate
0.00%
Pages Per Visit
0.00
Time on Site(s)
0.00
Global Rank
-
Country Rank
-
Recent Visits
Traffic Sources
- Social Media:0.00%
- Paid Referrals:0.00%
- Email:0.00%
- Referrals:0.00%
- Search Engines:0.00%
- Direct:0.00%
Related Websites
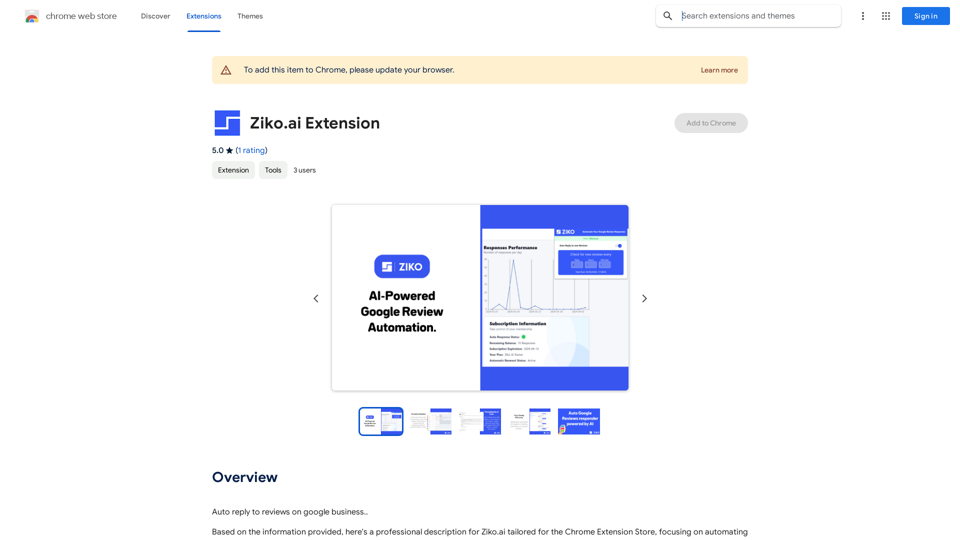
Here are some examples of auto-replies you can use for Google Business reviews: For Positive Reviews: * "Thank you so much for the wonderful review! We're thrilled you had a positive experience. We appreciate your business and look forward to seeing you again soon." * "We're so happy to hear you enjoyed your time with us! Your feedback means a lot to us. Thanks for taking the time to leave a review." * "Wow, thank you for the kind words! We strive to provide excellent service and we're glad we met your expectations. We appreciate your support!" For Negative Reviews: * "We're sorry to hear that you had a negative experience. We value your feedback and would like to learn more about what happened. Please contact us directly at [phone number] or [email address] so we can address your concerns." * "Thank you for your honest feedback. We apologize that we didn't meet your expectations. We're always working to improve our services and we appreciate you bringing this to our attention." * "We understand your frustration and sincerely apologize for any inconvenience caused. We'd like to make things right. Please contact us at [phone number] or [email address] so we can discuss this further." Tips: * Be prompt: Respond to reviews as quickly as possible. * Be genuine: Your responses should sound sincere and authentic. * Be professional: Avoid getting defensive or argumentative. * Keep it concise: Get to the point and avoid writing lengthy responses. * Offer solutions: If possible, offer a way to resolve the issue.
193.90 M
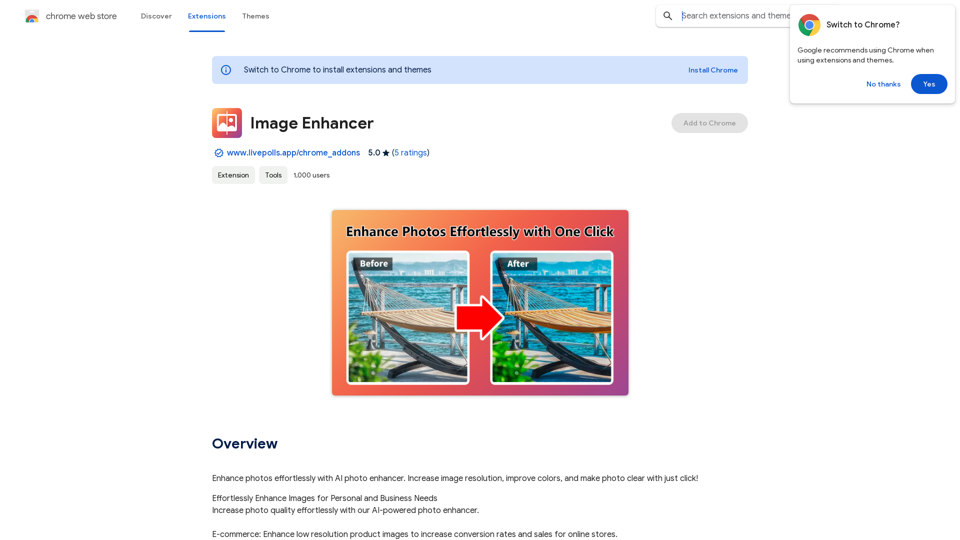
Enhance photos effortlessly with AI photo enhancer. Increase image resolution, improve colors, and make photo clear with just a click!
193.90 M
SyntheticEye AI Detector This is a tool to detect AI-generated text. It analyzes the text for patterns and characteristics commonly found in AI-written content. You can use it to identify potentially fake news, spam, or other types of AI-generated text. Keep in mind that no AI detection tool is perfect, and some sophisticated AI-generated text may be difficult to detect.
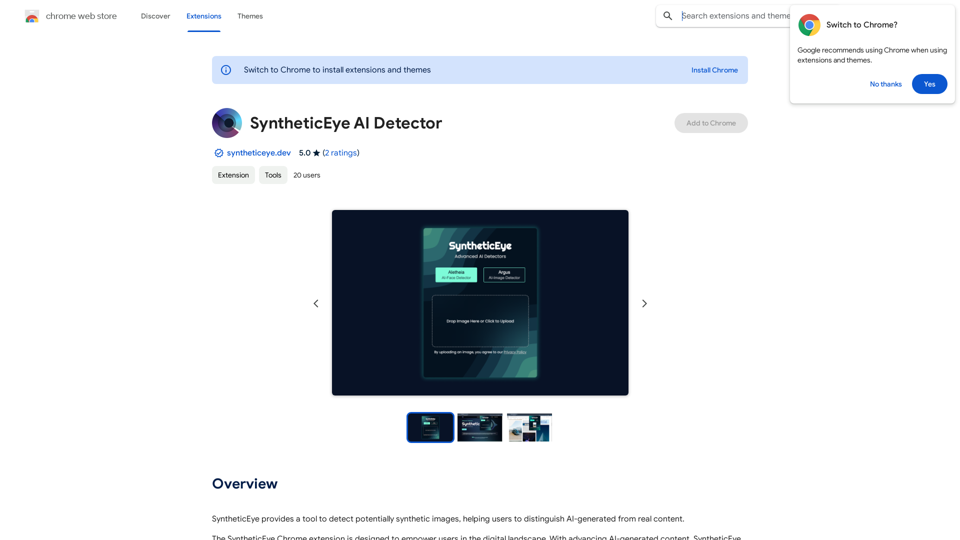
SyntheticEye AI Detector This is a tool to detect AI-generated text. It analyzes the text for patterns and characteristics commonly found in AI-written content. You can use it to identify potentially fake news, spam, or other types of AI-generated text. Keep in mind that no AI detection tool is perfect, and some sophisticated AI-generated text may be difficult to detect.SyntheticEye provides a tool to detect images that may have been created by artificial intelligence, helping users tell the difference between AI-generated images and real ones.
193.90 M
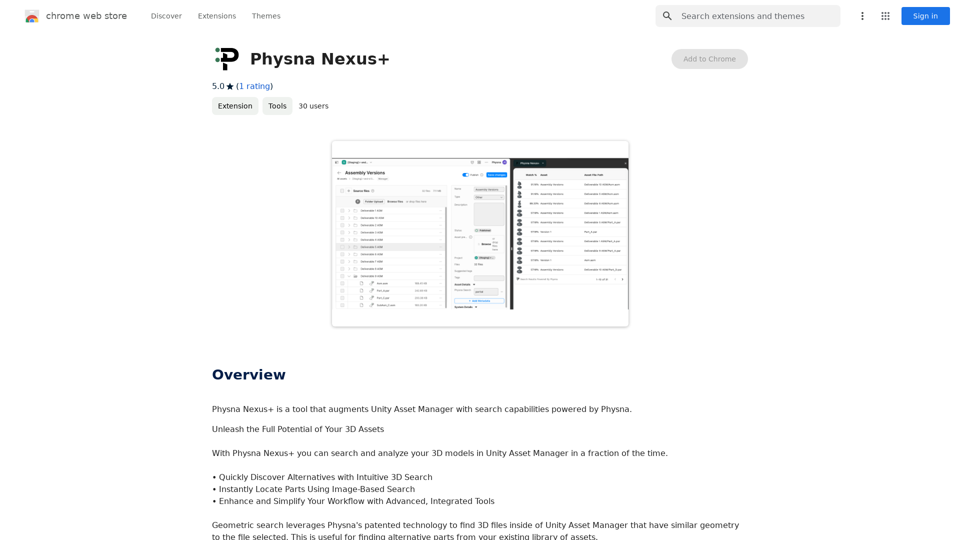
Physna Nexus+ is a tool that improves Unity Asset Manager by adding search features powered by Physna.
193.90 M
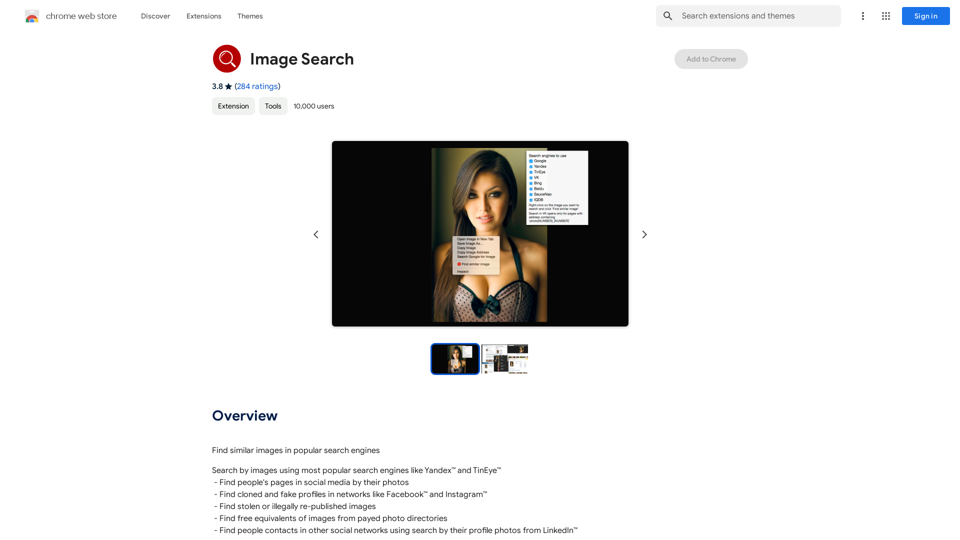
Find Similar Images in Popular Search Engines You can find similar images in popular search engines like Google, Bing, and Yandex using the following methods: #Google Images * Drag and drop an image into the search bar or click on the camera icon to upload an image. * Click on the "Search by image" button. * Google will display a list of similar images. #Bing Images * Click on the "Images" tab on the Bing homepage. * Click on the "Camera" icon in the search bar. * Upload an image or enter the image URL. * Bing will display a list of similar images. #Yandex Images * Click on the "Images" tab on the Yandex homepage. * Click on the "Lens" icon in the search bar. * Upload an image or enter the image URL. * Yandex will display a list of similar images. These search engines use advanced algorithms to find similar images based on various factors such as color, shape, and texture.
193.90 M

Discover a supportive and understanding mental health bot designed to help you manage stress, anxiety, and everyday emotional challenges. Accessible anytime to provide guidance, resources, and comfort, ensuring you never feel alone in your journey towards mental wellness.
0
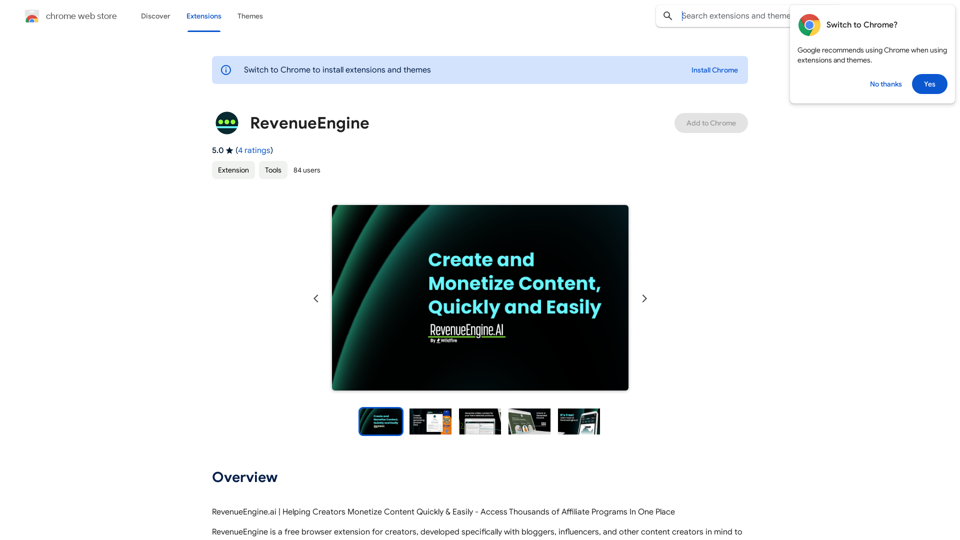
RevenueEngine.ai | Helping Creators Monetize Content Quickly & Easily - Access Thousands of Affiliate Programs In One Place
193.90 M
![Batch Save ChatGPT to Notion
This is a guide on how to save multiple ChatGPT responses to Notion in a batch.
Tools You'll Need:
* ChatGPT: An AI chatbot that can generate text.
* Notion: A note-taking and project management tool.
* Python: A programming language.
* Requests Library: A Python library for making HTTP requests.
Steps:
1. Get Your Notion API Token:
- Go to your Notion workspace settings.
- Navigate to the "Integrations" tab.
- Click "Create new integration" and choose "API Token".
- Copy your API token.
2. Install Python Libraries:
- Open your terminal or command prompt.
- Type `pip install requests` and press Enter.
3. Write Python Script:
- Create a new Python file (e.g., `save_chatgpt_to_notion.py`).
- Paste the following code into the file, replacing `YOUR_NOTION_API_TOKEN` with your actual token:
```python
import requests
def save_chatgpt_response_to_notion(response, page_id, token):
"""Saves a ChatGPT response to a Notion page."""
url = f"https://api.notion.com/v1/pages/{page_id}/children"
headers = {"Authorization": f"Bearer {token}"}
data = {
"parent": {
"page_id": page_id
},
"properties": {
"title": {
"title": [
{
"text": {
"content": "ChatGPT Response"
}
}
]
},
"content": {
"rich_text": [
{
"text": {
"content": response
}
}
]
}
}
}
response = requests.post(url, headers=headers, json=data)
print(response.status_code)
Example usage
page_id = "YOUR_NOTION_PAGE_ID"
token = "YOUR_NOTION_API_TOKEN"
Get ChatGPT responses (replace with your actual ChatGPT interaction)
chatgpt_responses = [
"This is the first ChatGPT response.",
"This is the second ChatGPT response.",
"This is the third ChatGPT response."
]
Save each response to Notion
for response in chatgpt_responses:
save_chatgpt_response_to_notion(response, page_id, token)
```
4. Run the Script:
- In your terminal, navigate to the directory where you saved the Python file.
- Type `python save_chatgpt_to_notion.py` and press Enter.
5. Check Notion:
- Open your Notion workspace and go to the page specified by `page_id`.
- You should see your ChatGPT responses saved as separate blocks.
Batch Save ChatGPT to Notion
This is a guide on how to save multiple ChatGPT responses to Notion in a batch.
Tools You'll Need:
* ChatGPT: An AI chatbot that can generate text.
* Notion: A note-taking and project management tool.
* Python: A programming language.
* Requests Library: A Python library for making HTTP requests.
Steps:
1. Get Your Notion API Token:
- Go to your Notion workspace settings.
- Navigate to the "Integrations" tab.
- Click "Create new integration" and choose "API Token".
- Copy your API token.
2. Install Python Libraries:
- Open your terminal or command prompt.
- Type `pip install requests` and press Enter.
3. Write Python Script:
- Create a new Python file (e.g., `save_chatgpt_to_notion.py`).
- Paste the following code into the file, replacing `YOUR_NOTION_API_TOKEN` with your actual token:
```python
import requests
def save_chatgpt_response_to_notion(response, page_id, token):
"""Saves a ChatGPT response to a Notion page."""
url = f"https://api.notion.com/v1/pages/{page_id}/children"
headers = {"Authorization": f"Bearer {token}"}
data = {
"parent": {
"page_id": page_id
},
"properties": {
"title": {
"title": [
{
"text": {
"content": "ChatGPT Response"
}
}
]
},
"content": {
"rich_text": [
{
"text": {
"content": response
}
}
]
}
}
}
response = requests.post(url, headers=headers, json=data)
print(response.status_code)
Example usage
page_id = "YOUR_NOTION_PAGE_ID"
token = "YOUR_NOTION_API_TOKEN"
Get ChatGPT responses (replace with your actual ChatGPT interaction)
chatgpt_responses = [
"This is the first ChatGPT response.",
"This is the second ChatGPT response.",
"This is the third ChatGPT response."
]
Save each response to Notion
for response in chatgpt_responses:
save_chatgpt_response_to_notion(response, page_id, token)
```
4. Run the Script:
- In your terminal, navigate to the directory where you saved the Python file.
- Type `python save_chatgpt_to_notion.py` and press Enter.
5. Check Notion:
- Open your Notion workspace and go to the page specified by `page_id`.
- You should see your ChatGPT responses saved as separate blocks.](https://static.right-ai.com/tools/2024/7/4/chromewebstore-google-com-detail-save-chatgpt-to-notion-da-djefhicmpbpmmlagbgooepmbobdhajgn-thumbnail-1720087209.png)
Batch Save ChatGPT to Notion This is a guide on how to save multiple ChatGPT responses to Notion in a batch. Tools You'll Need: * ChatGPT: An AI chatbot that can generate text. * Notion: A note-taking and project management tool. * Python: A programming language. * Requests Library: A Python library for making HTTP requests. Steps: 1. Get Your Notion API Token: - Go to your Notion workspace settings. - Navigate to the "Integrations" tab. - Click "Create new integration" and choose "API Token". - Copy your API token. 2. Install Python Libraries: - Open your terminal or command prompt. - Type `pip install requests` and press Enter. 3. Write Python Script: - Create a new Python file (e.g., `save_chatgpt_to_notion.py`). - Paste the following code into the file, replacing `YOUR_NOTION_API_TOKEN` with your actual token: ```python import requests def save_chatgpt_response_to_notion(response, page_id, token): """Saves a ChatGPT response to a Notion page.""" url = f"https://api.notion.com/v1/pages/{page_id}/children" headers = {"Authorization": f"Bearer {token}"} data = { "parent": { "page_id": page_id }, "properties": { "title": { "title": [ { "text": { "content": "ChatGPT Response" } } ] }, "content": { "rich_text": [ { "text": { "content": response } } ] } } } response = requests.post(url, headers=headers, json=data) print(response.status_code) Example usage page_id = "YOUR_NOTION_PAGE_ID" token = "YOUR_NOTION_API_TOKEN" Get ChatGPT responses (replace with your actual ChatGPT interaction) chatgpt_responses = [ "This is the first ChatGPT response.", "This is the second ChatGPT response.", "This is the third ChatGPT response." ] Save each response to Notion for response in chatgpt_responses: save_chatgpt_response_to_notion(response, page_id, token) ``` 4. Run the Script: - In your terminal, navigate to the directory where you saved the Python file. - Type `python save_chatgpt_to_notion.py` and press Enter. 5. Check Notion: - Open your Notion workspace and go to the page specified by `page_id`. - You should see your ChatGPT responses saved as separate blocks.
Batch Save ChatGPT to Notion This is a guide on how to save multiple ChatGPT responses to Notion in a batch. Tools You'll Need: * ChatGPT: An AI chatbot that can generate text. * Notion: A note-taking and project management tool. * Python: A programming language. * Requests Library: A Python library for making HTTP requests. Steps: 1. Get Your Notion API Token: - Go to your Notion workspace settings. - Navigate to the "Integrations" tab. - Click "Create new integration" and choose "API Token". - Copy your API token. 2. Install Python Libraries: - Open your terminal or command prompt. - Type `pip install requests` and press Enter. 3. Write Python Script: - Create a new Python file (e.g., `save_chatgpt_to_notion.py`). - Paste the following code into the file, replacing `YOUR_NOTION_API_TOKEN` with your actual token: ```python import requests def save_chatgpt_response_to_notion(response, page_id, token): """Saves a ChatGPT response to a Notion page.""" url = f"https://api.notion.com/v1/pages/{page_id}/children" headers = {"Authorization": f"Bearer {token}"} data = { "parent": { "page_id": page_id }, "properties": { "title": { "title": [ { "text": { "content": "ChatGPT Response" } } ] }, "content": { "rich_text": [ { "text": { "content": response } } ] } } } response = requests.post(url, headers=headers, json=data) print(response.status_code) Example usage page_id = "YOUR_NOTION_PAGE_ID" token = "YOUR_NOTION_API_TOKEN" Get ChatGPT responses (replace with your actual ChatGPT interaction) chatgpt_responses = [ "This is the first ChatGPT response.", "This is the second ChatGPT response.", "This is the third ChatGPT response." ] Save each response to Notion for response in chatgpt_responses: save_chatgpt_response_to_notion(response, page_id, token) ``` 4. Run the Script: - In your terminal, navigate to the directory where you saved the Python file. - Type `python save_chatgpt_to_notion.py` and press Enter. 5. Check Notion: - Open your Notion workspace and go to the page specified by `page_id`. - You should see your ChatGPT responses saved as separate blocks.Save ChatGPT Conversations to Notion with One Click Export your ChatGPT conversations directly to Notion with a single click.
193.90 M